Notes
Here’s a step by step guide to making your own honeycomb candy from home. As a heads-up, making any kind of caramel is super dangerous since sugar gets super hot when you melt it. Although this is a fun, easy recipe, never dip your fingers in molten sugar and don’t let kids make this recipe unsupervised.
Combine Your Ingredients
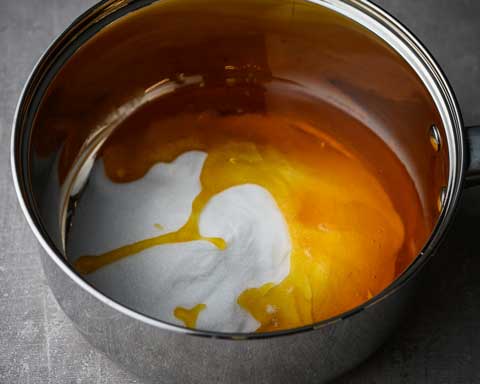
Get your sugar, syrup, and water in a saucepan. This mixture is going to bubble dramatically when we add our baking soda, so choose a saucepan that is bigger than you think you need. It’s also a good idea to get your baking soda measured out before you melt your sugar, as there won’t be much time later. Also, be sure to line a baking tray with baking parchment or a silicone mat.
Bring to a Boil
We want to bring our sugar to a boil. Specifically, we want to bring it to 150c. As such, you’ll need a candy thermometer for this recipe. The temperature of the caramel is super important as it determines whether our honeycomb will set solid or not once cool. So do try to be specific with this one.
Add the Baking Soda and WHISK!
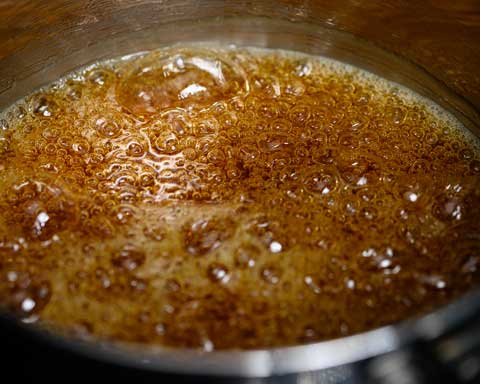
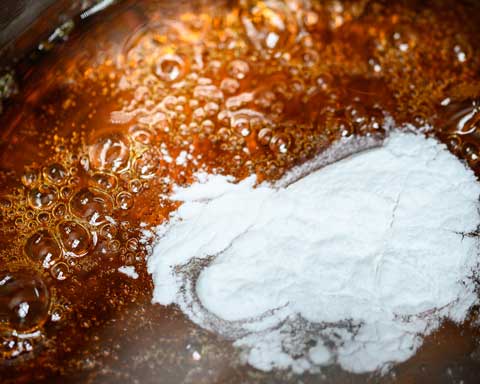
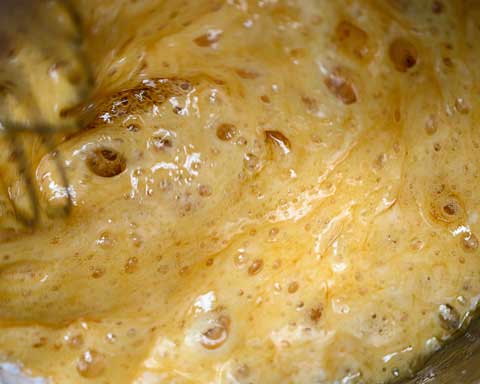
Hopefully, you have your baking soda ready, because as soon as the caramel hits 150c, you’re going to throw it into the pan. Be sure to whisk well but beware that the mixture will expand very rapidly. Once the baking soda is whisked through, pour the expanding mixture into the prepared baking tray.
Allow to Cool and Break
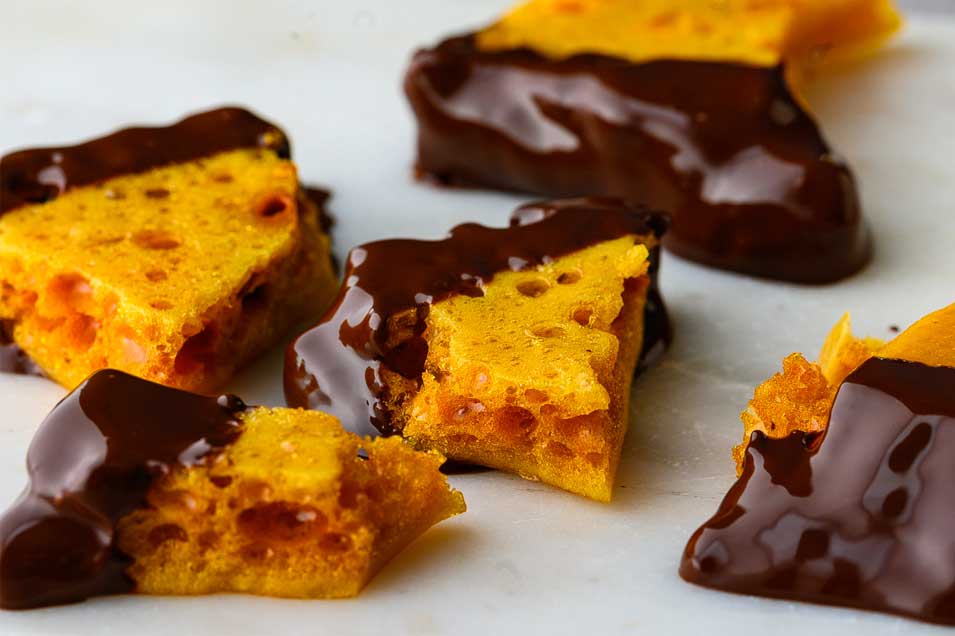
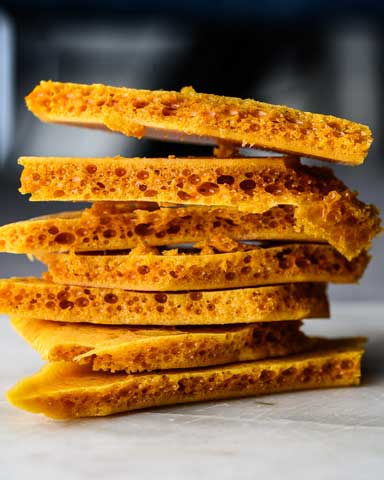
The honeycomb will still be super hot and sticky, so don’t do anything with it until it’s fully cooled. Ideally a few hours, but minimum one. Once cooled, break the honeycomb into pieces using the back of a spoon.
Melt the Chocolate and Dip
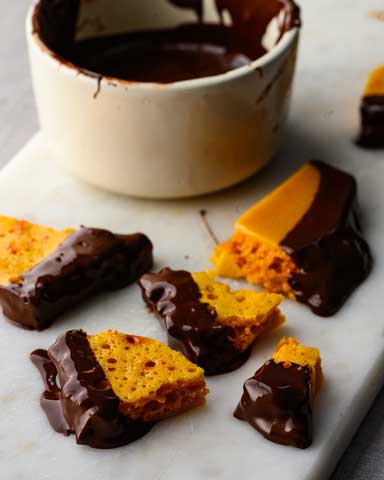
Either over a double boiler or in the microwave, melt the chocolate. Be careful not to burn it, particularly if you’re using the microwave. Once melted, dip, the honeycomb pieces and lay back on the baking parchment to cool. Once cooled, serve and enjoy!
