Notes
Find the full detailed recipe with step-by-step and pictures for this pici and squash sauce below. It’s a good idea to have a read through if you’ve never made pasta before, but trust me, you’ll be pleasantly surprised by how simple it is!
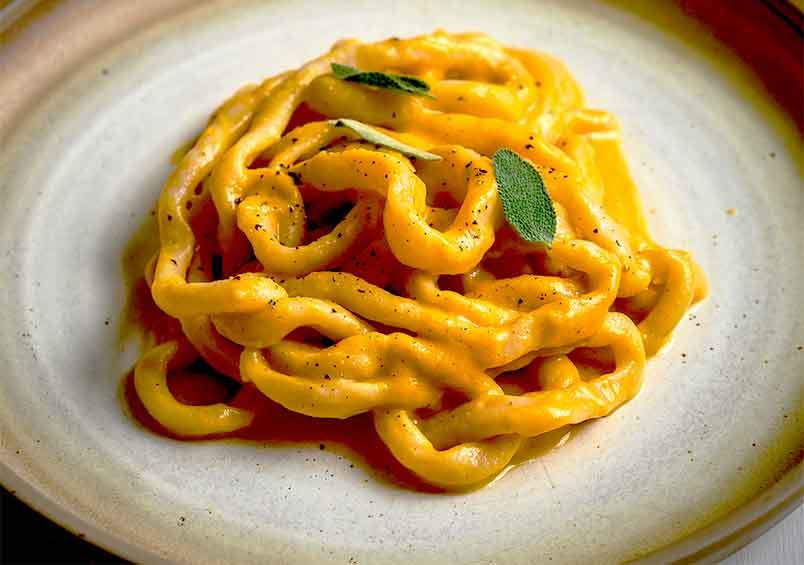
To Make the Pasta
There are four main steps to making this super simple pasta. It doesn’t require a pasta machine and is done completely by hand. Pici also has a very forgiving lumpy bumpy texture (unlike spaghetti) so if you’ve never made pasta before, this might be a great place to start. Follow these four steps for picture perfect pici!
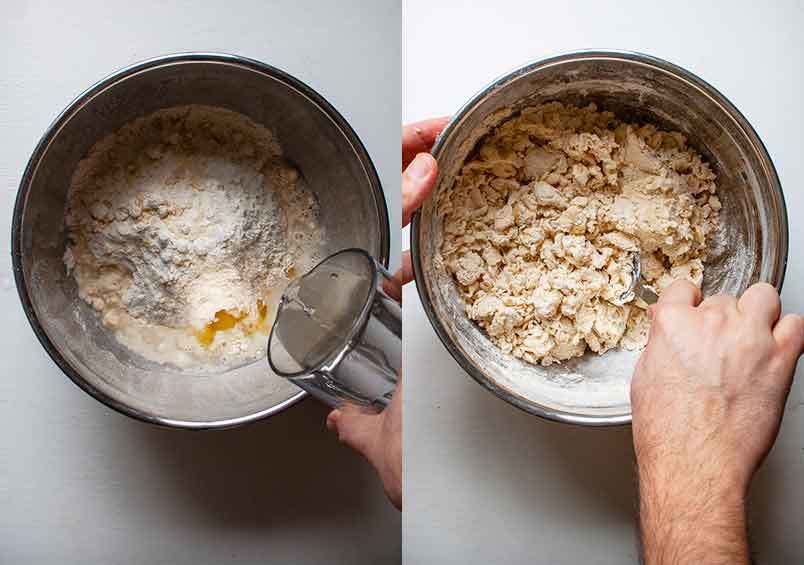
Mixing
The dough comes together quickly and doesn’t require much technique, so just get all your ingredients into a bowl and mix them together. It’ll seem a little dry to begin with, but keep going until all the flour is picked up by the ball of dough.
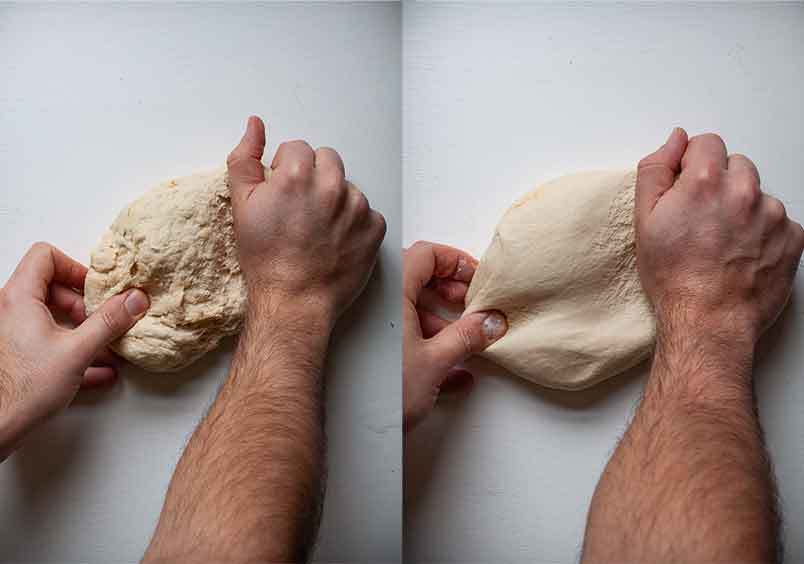
Kneading
Once all your ingredients have come together, it’s time to get your hands dirty. Tip the dough out onto a clean surface and knead it for a good ten minutes. Kneading techniques vary depending on who you ask. The only important thing is that you’re stretching out the dough and activating the gluten in the flour. You’ll know if your kneading has worked because the dough should eventually turn very smooth and shouldn’t have a sticky texture.
Dividing
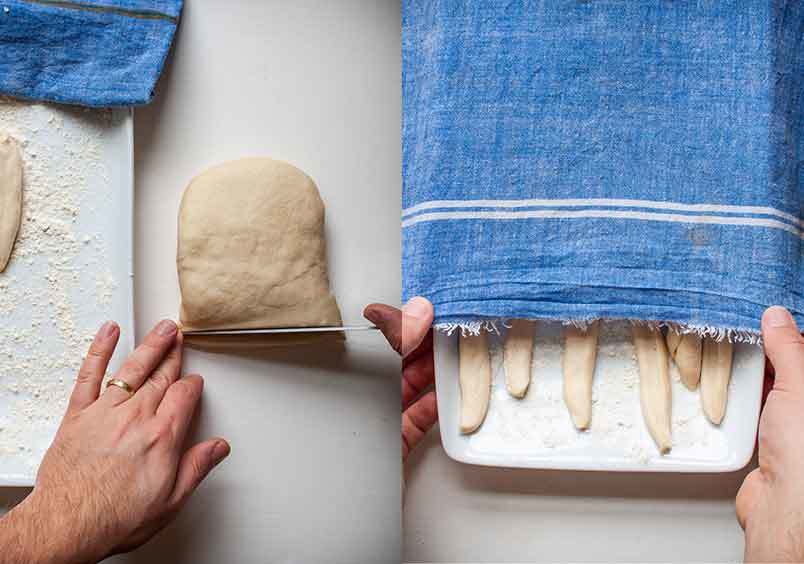
Once your dough is nice and smooth, you need to divide it into strips. These stips will be rolled out into big long shoe laces, but at this stage, it sort of doesn’t matter what shape they’re in. Simply flatten the ball of dough into a rough rectangle and try to square off the edges slightly. Use a sharp knife to slice of a thin strip of dough and pop it on a set of scales – it should weigh around 20g. Keep slicing until all your dough is divided. Keep the sliced strips under a damp tea-towel to stop them from drying out.
Shaping
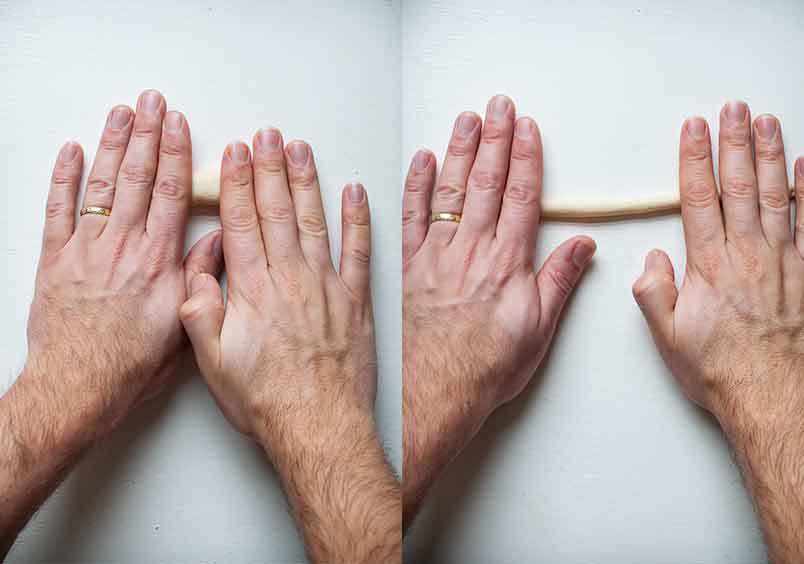
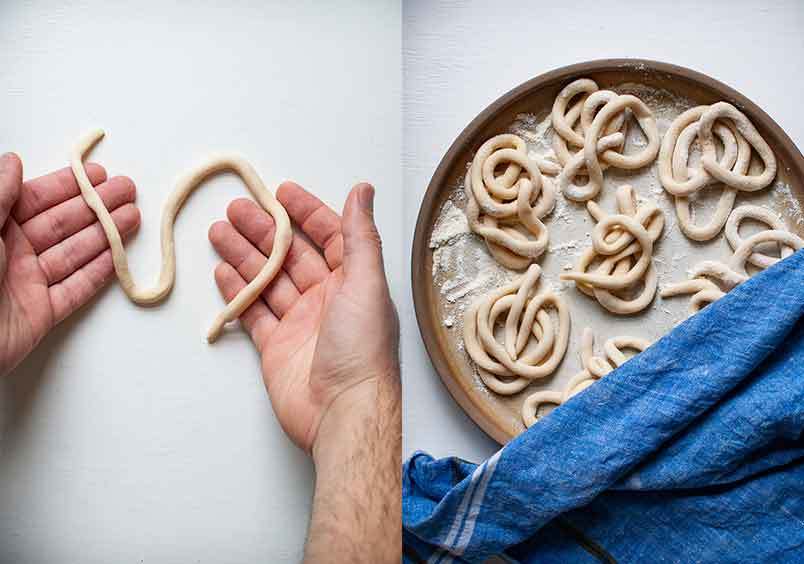
Finally, to shape the strips of dough into pici, place one on a clean surface. Using the flat of both palms pushing downwards, roll the strip of dough forwards and backwards while simultaneously moving each hand outward from the centre of the strip. The dough should become longer and thinner until it’s around the width of a chopstick. To stop the pasta sticking together, dunk the rolled dough in some flour and set aside. Repeat until you’ve prepared all of your dough.
To Make the Sauce
Again, there are a few steps to this process but it’s really worth getting it right. This is one of the tastiest pasta sauces out there and, if done properly, you’ll keep that delicious orange colour of the squash.
Roasting
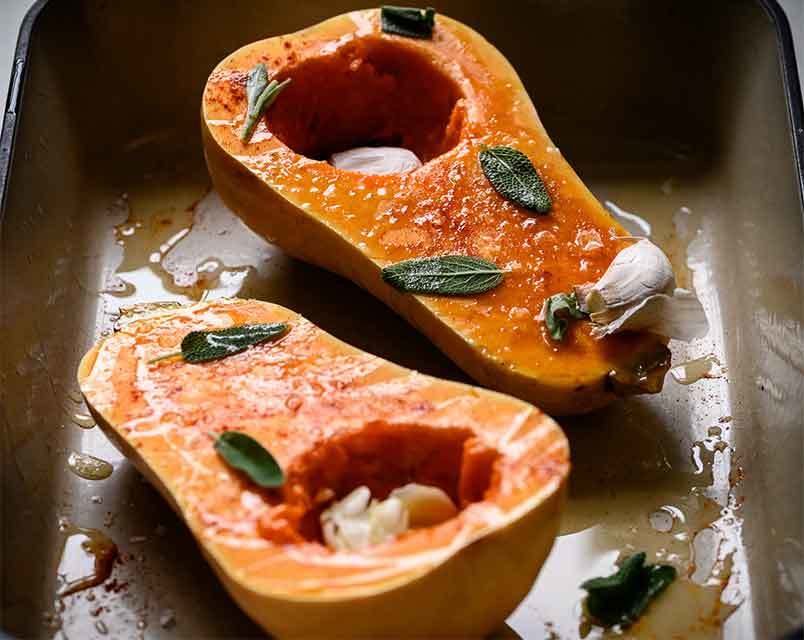
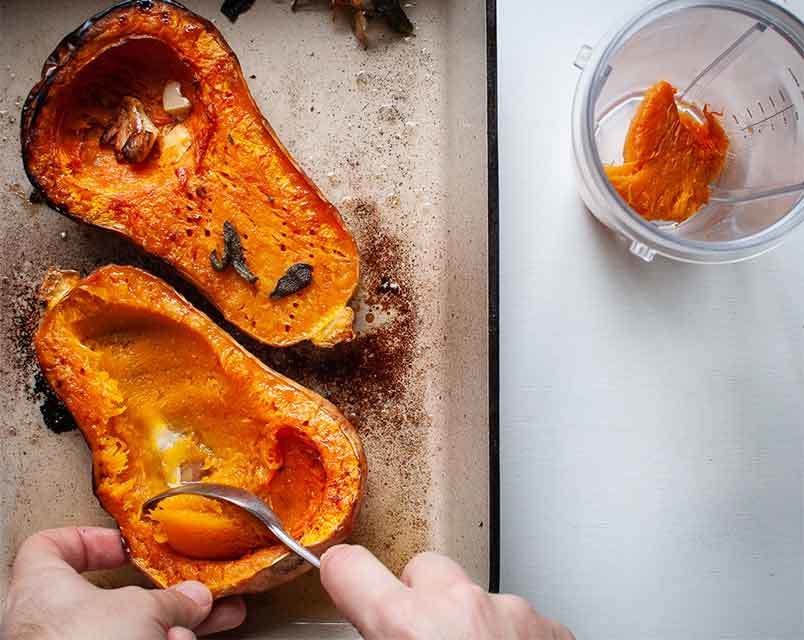
First step is to roast your squash. If you peel and dice the squash first you’ll lose too much moisture to evaporation and the edges of the squash will caramelise meaning you’ll lose that gorgeous golden colour. Avoid this by simply slicing the squash in half, dressing with some oil, salt, smoked paprika, garlic and sage, then roasting at 170c for at least an hour.
Blending
Once the squash is fully roasted, it should be soft enough to scoop out of its skin with a spoon. The next step is to blend it until super smooth. Make sure you get all that delicious roasted garlic and sage involved too – throw it into the blender with the squash.
Reducing
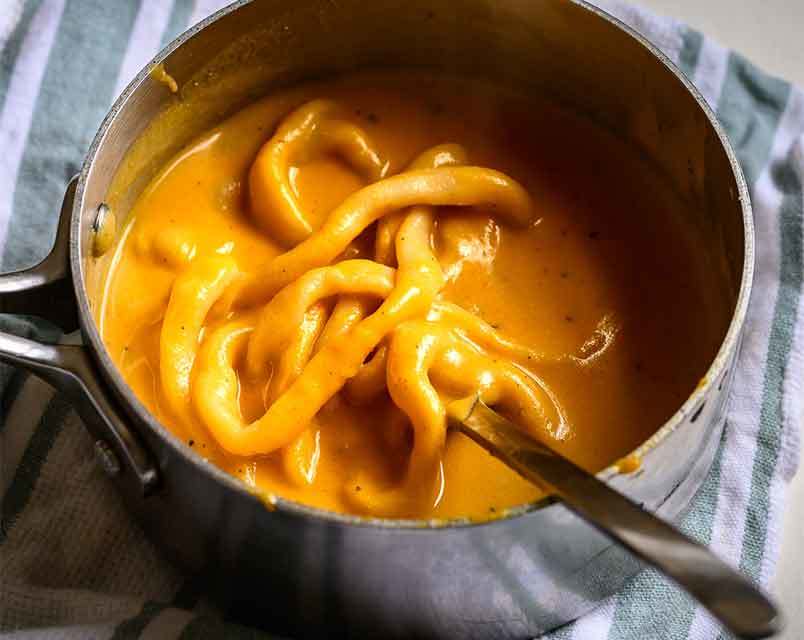
Next you’ll want to combine the squash puree with the vegetable stock and bring to a simmer. I recommend doing this in a large, wide open saucepan or a super deep frying pan. That way the mixture has a bigger surface area and more moisture can evaporate. We want this mixture to become super thick with a crazy concentrated flavour.
Finishing
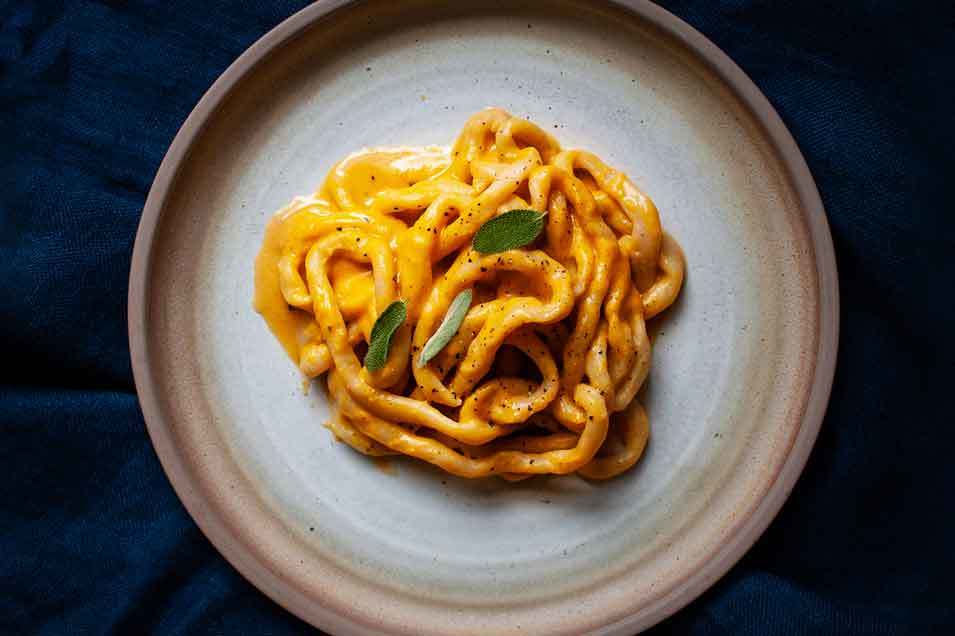
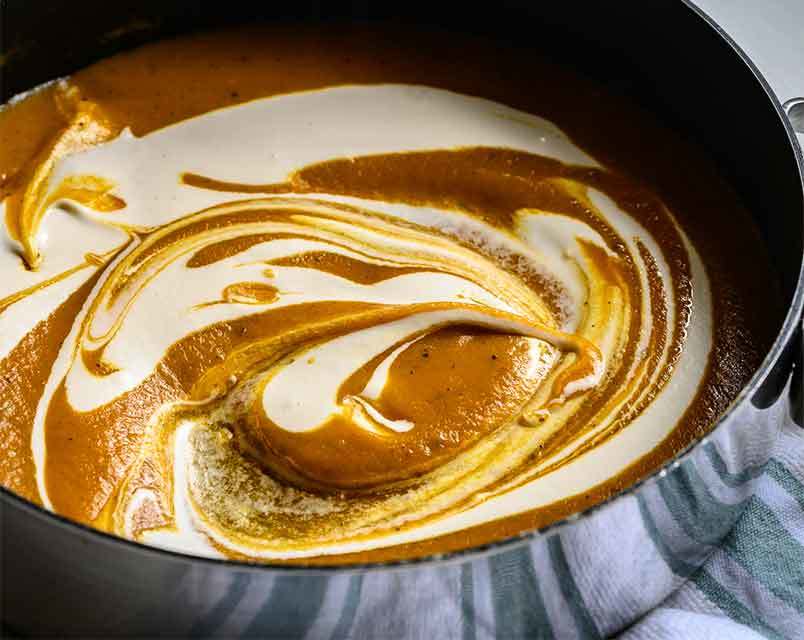
To finish the sauce, we need to cream it up! That means whizzing up our soaked cashews with some water to make a cashew cream. Fun fact: if you’re allergic to nuts, you can do the exact same thing with sunflower seeds instead. To finish, add a splash of pasta water and your sauce should be smooth, glossy and incredibly tasty. Drain some pici, add it to the sauce and then serve!
