Notes
See the full step-by-step break down of the process below. You’ll find this bit particularly useful if you’re a novice when it comes to working with yeasted doughs – fear not! You’ll be a dough pro in no time!
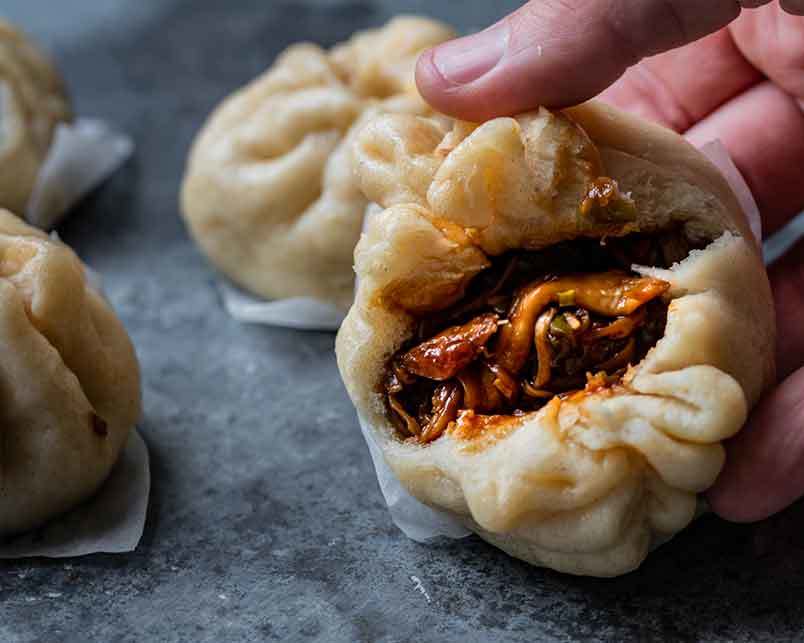
To Make the Bao Dough
Mixing and Resting
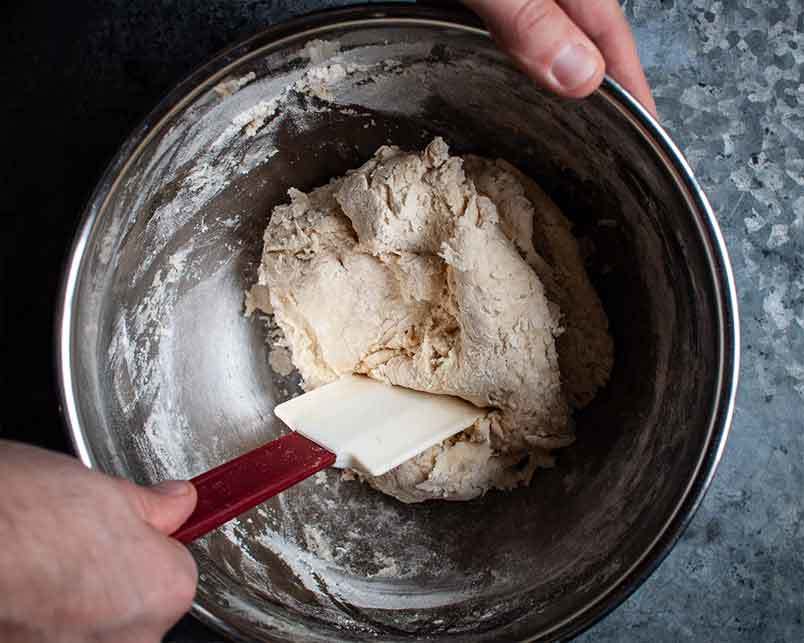
To begin, you’ll need to mix your ingredients together to form a rough dough. Yeast works best when it comes into contact with three things: moisture, warmth and sugar. This is why I recommend slightly warming some plant milk, mixing in the sugar before adding the yeast. Leave it to go frothy (which is a sign that the yeast is awake!) and then add this to all your remaining dough ingredients. Mix well and then cover and leave to rest for 10 minutes.
Kneading
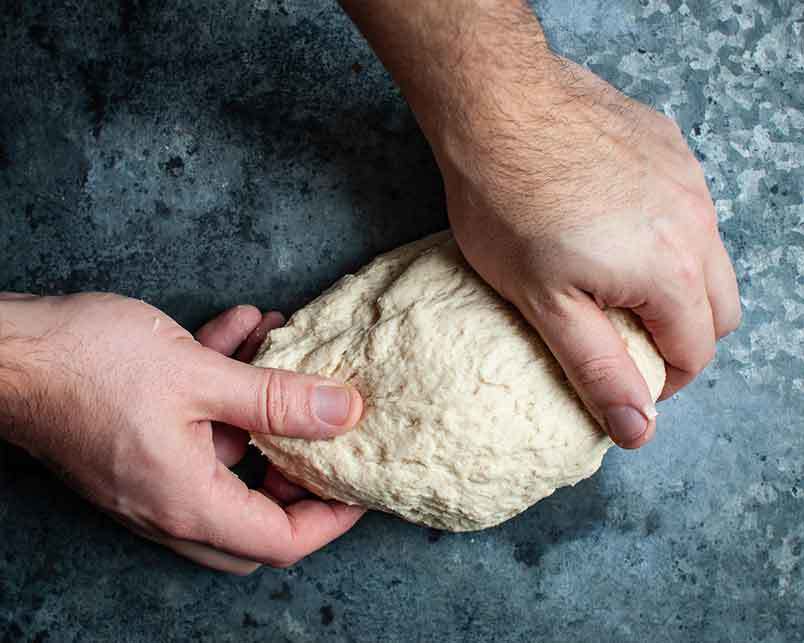
Once rested, the flour should all be fully hydrated, which means the dough will be easy to work with and not sticky. Tip out the dough and knead it for a good 5-10 minutes. You’ll know when the dough is ready because the texture should change from a soft, shaggy dough to one which springs back when prodded. It should also be very smooth – which means the gluten is activated – that’s good news!
Proving
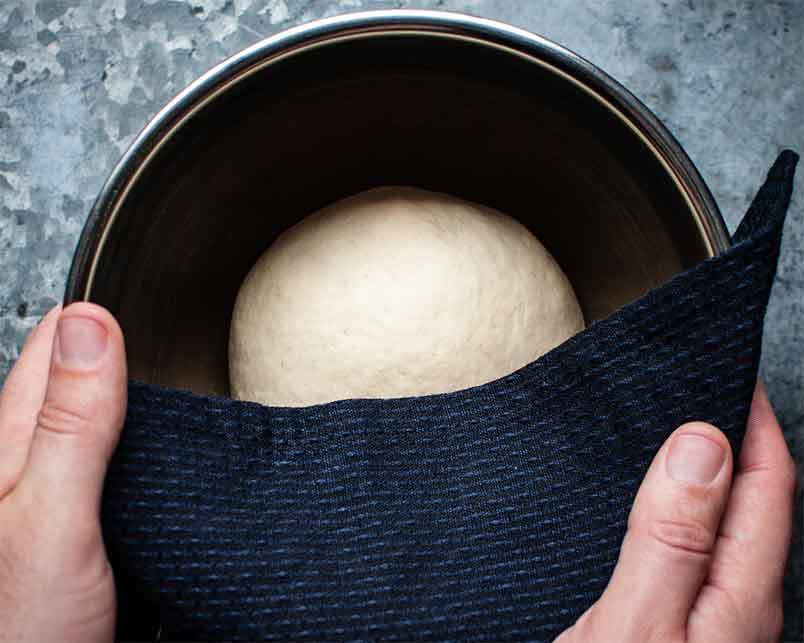
Once the dough is kneaded, you need to give the yeast time to do its magic. This means leaving it to sit and prove, somewhere around room temperature. Grease the inside of your bowl with a little oil first which will help the dough come out easier later. Making sure the dough is covered with a damp teatowel, leave it to rise for at least an hour or until doubled in size.
Dividing
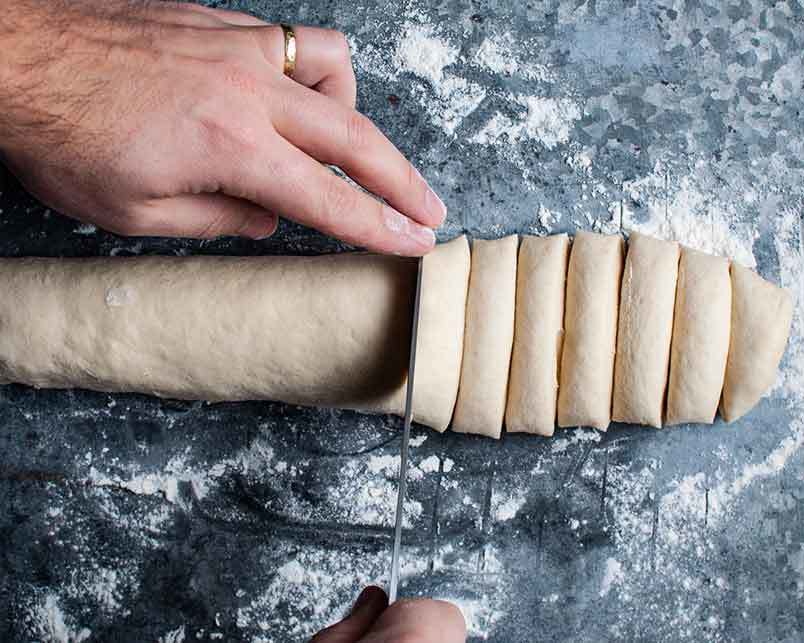
Once the dough has proved, you’ll need to deflate it, so push out all the big air bubbles with your finger tips. You’ll then need to roll the dough into a cylinder and divide into 16 discs. Don’t worry if they’re not all exactly the same time. They just need to be roughly equal. Cover the discs of dough with a damp teatowel while you progress to the next step.
Rolling
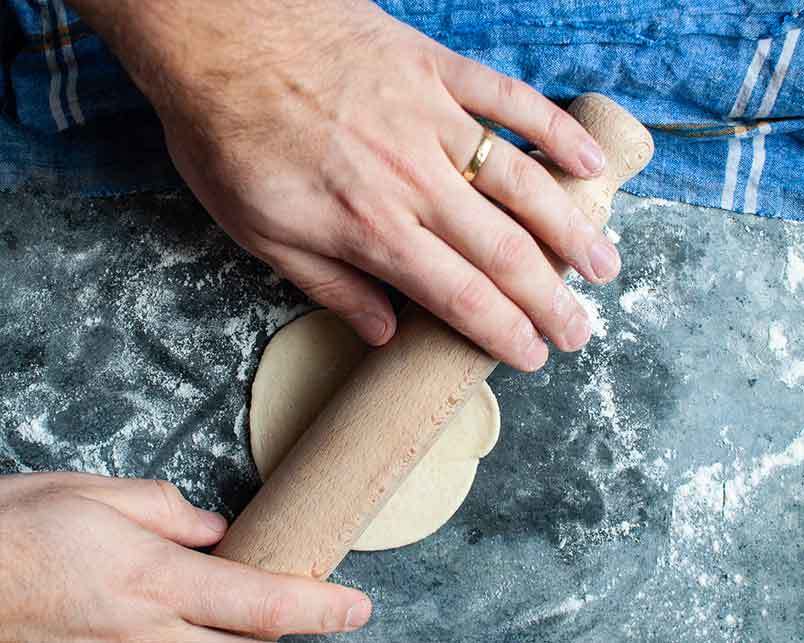
Working with one piece of dough at a time, you now need to roll out some circles of dough. Aim for circles of around 2.5 inches.
Filling
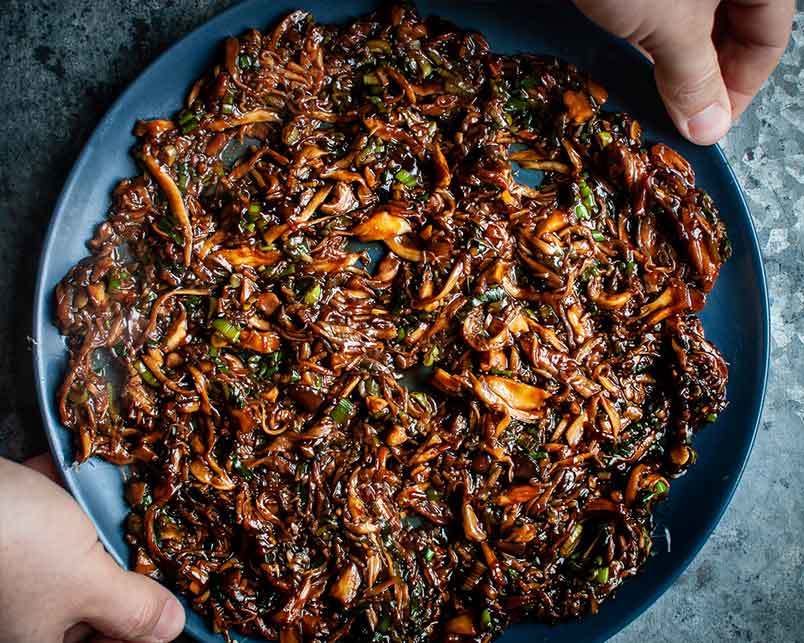
Once you have a circle of dough to work with, you’ll want to add around 2 tsp of filling to the centre. Hold the dough circle in the palm of your hand and place the filling right in the middle.
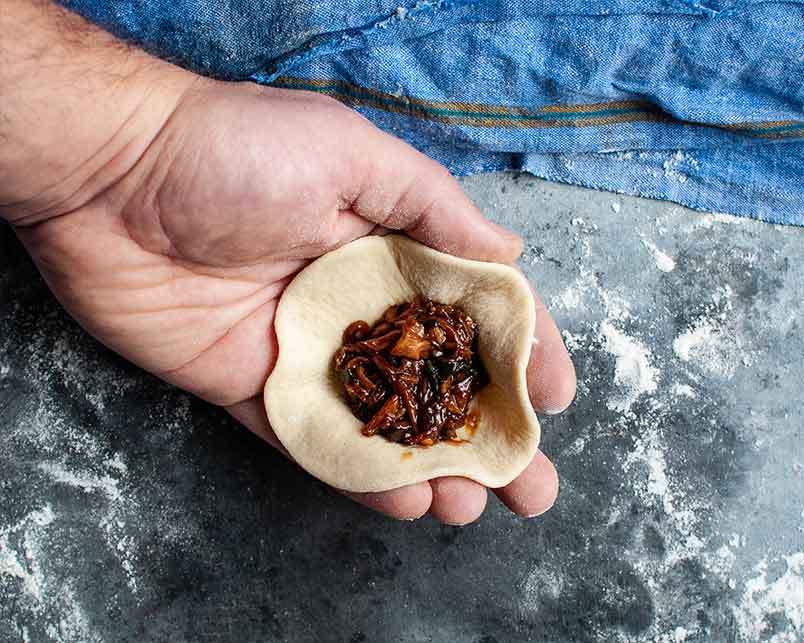
Sealing
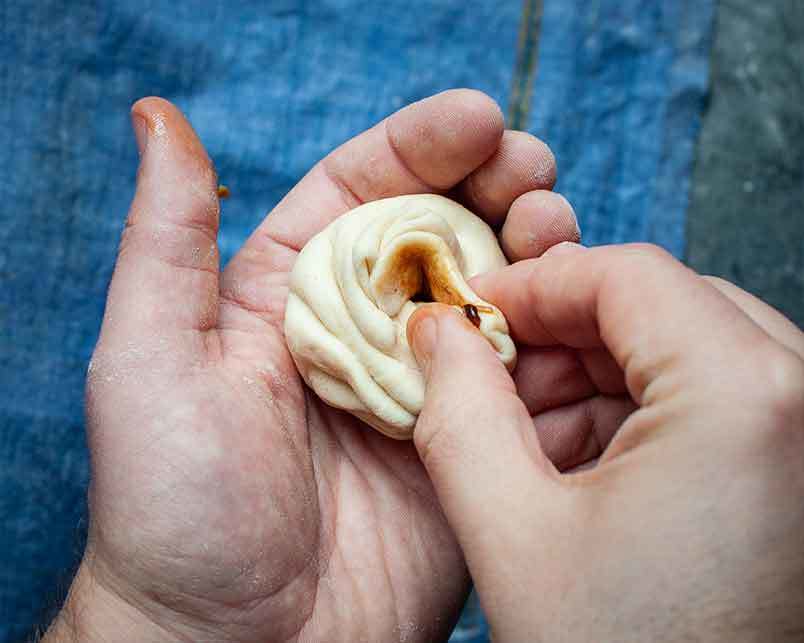
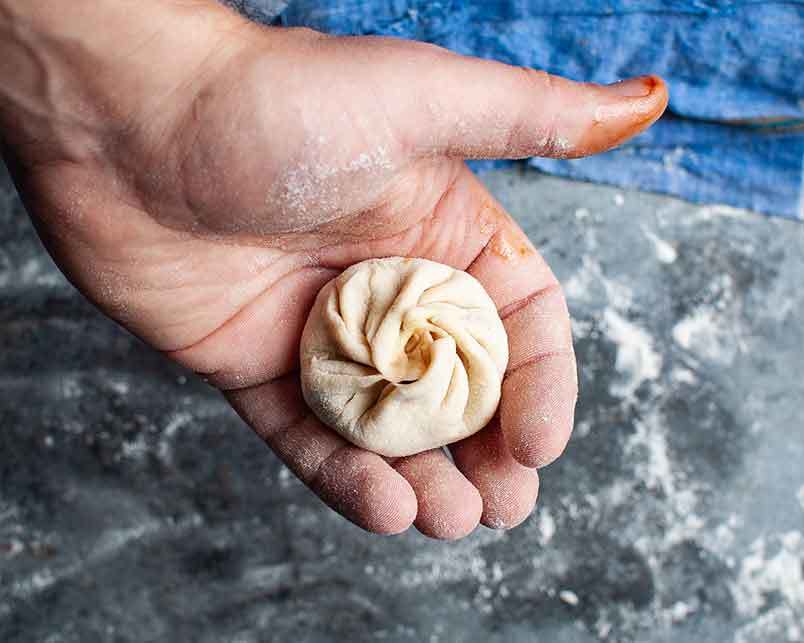
This is perhaps the most tricky part. It’ll take a couple of tries and you might find it helpful to watch a few youtube videos before you start. Pinch the side of the dough to make a pleat between your thumb and index finger. Rotate the dough slightly, pushing the filling down with your other thumb (the one holding the dough) and repeat the process – pinching the dough to add another pleat. Continue pleating until you’ve come full circle. Pinch the final pleat together to seal the top of the bao.
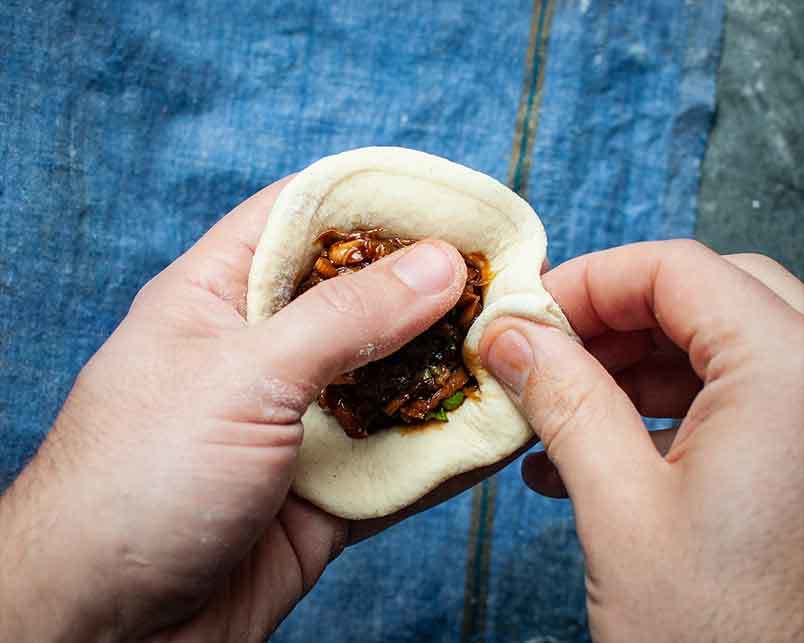
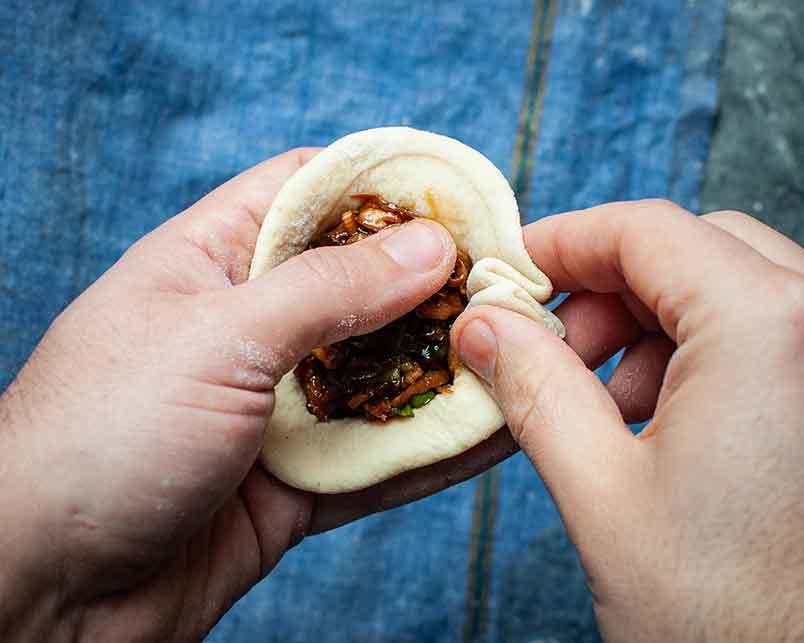
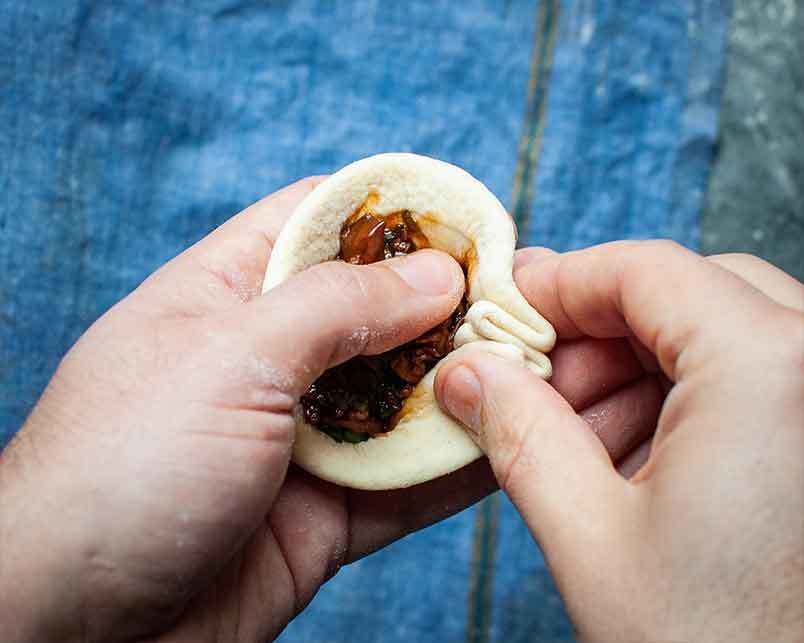
Proving and Steaming
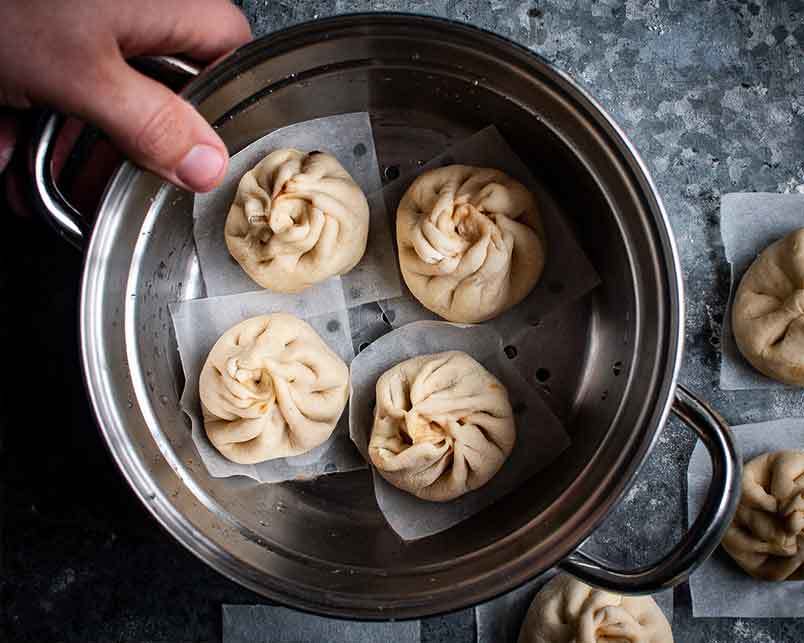
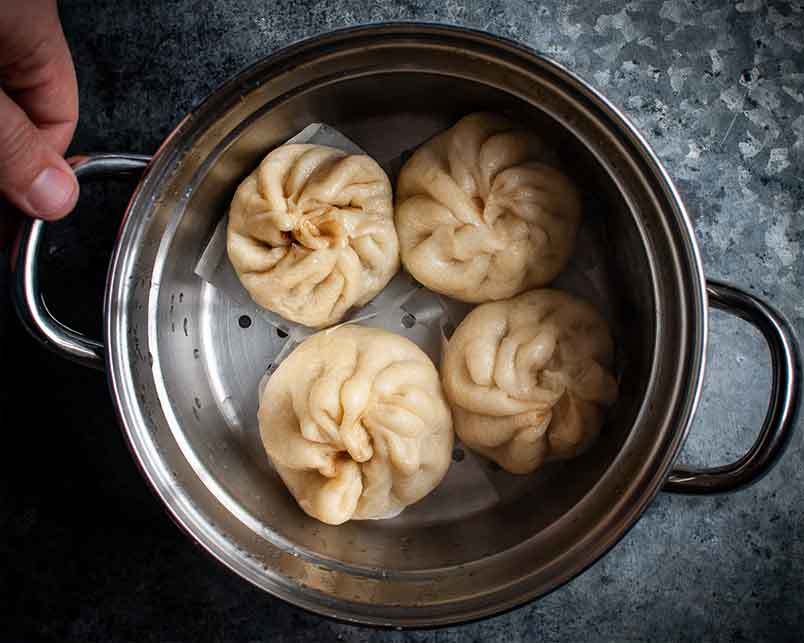
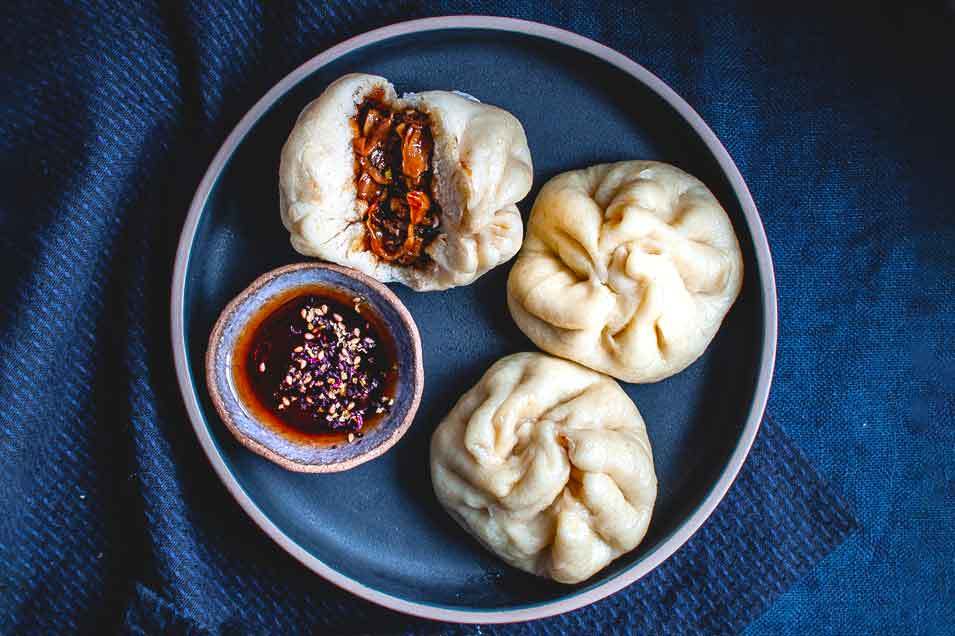
Before you can steam the bao, they’ll need one last little prove. Place the bao under a damp teatowel again and allow them to rise for another 20 minutes. You’ll need to steam them in batches so remember which bao you formed first and put them to the top of the queue. Turn on a steamer or place a bamboo steamer over a saucepan of boiling water. Place each bao on a small square of baking parchment and pop in the steamer. They’ll need to steam for at least ten minutes. When they’re done, they should be white, light and fluffy. Remove them carefully and repeat until all the bao are steamed.
